
Assembling a guitar kit
My son recently requested that I build him an electric guitar. He wanted a flying-v with a custom wrap on it. I got a guitar kit from Solo Music Gear (located near Toronto, Ontario) and a skin from Axe Wrap. I took a few photos of the process. Click on each image below to see a larger version.
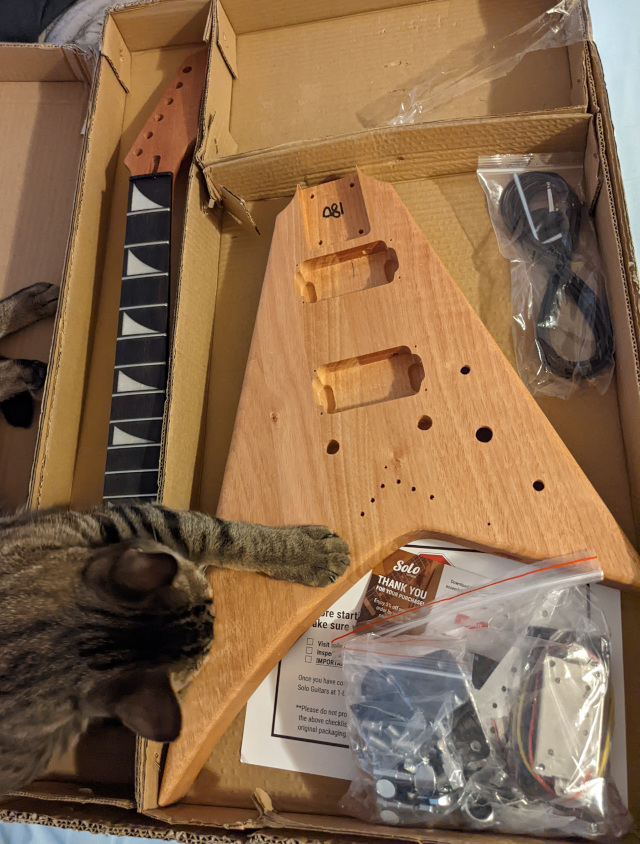
I looked at a number of custom guitar kit options but decided to go with a nearby company because if there were any major issues it would be easier to ship back. Everything ended up looking fine with no issues that I could see. All you need to make a working electric guitar was included in the kit. I have an electric guitar myself that I've changed the tuners and pickups on, and I have always assembled my own computers, so I figured this should not be too difficult. As you can see, my cat was very interested in being involved with the unboxing.
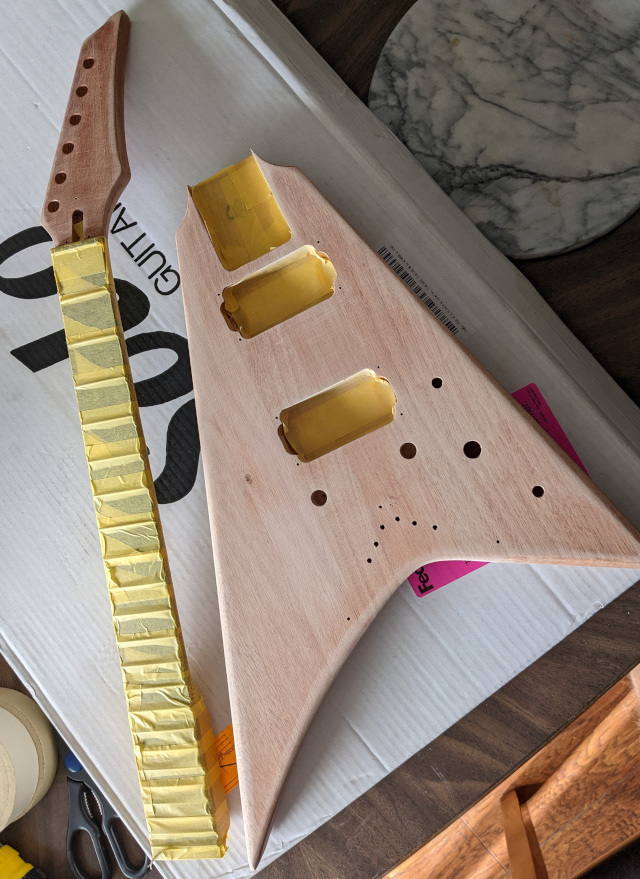
I sanded off the protective clear coat that the guitar comes with and taped up the cavities and bits that I did not want to get paint on. If I ever do this again, this is the step I will definitely spend more time on. Getting the cleanest and smoothest surface possible is important. I basically followed instructions I found on YouTube videos for what grit of sandpaper to use and what brands of spray paint (when doing this in on the cheap) to use.
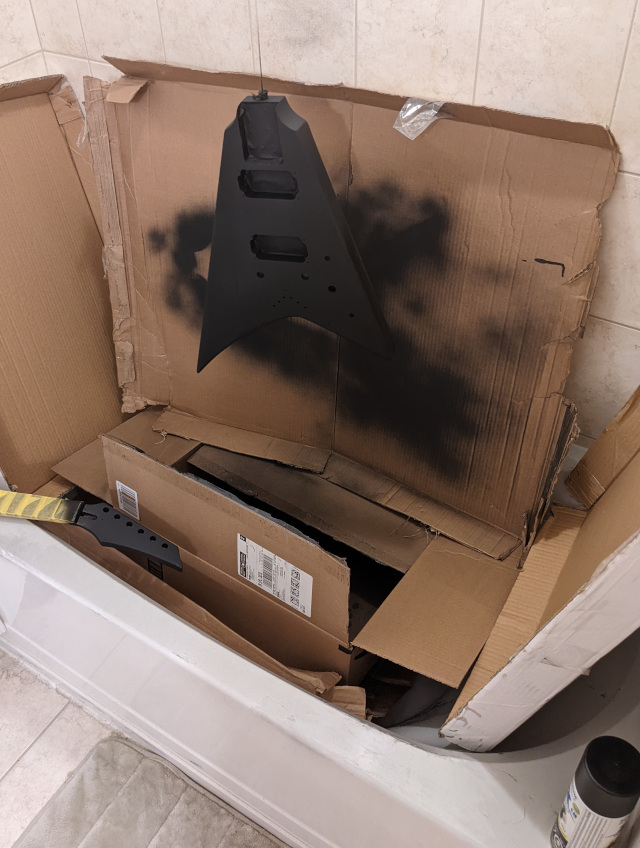
I hung the guitar body up in my bathroom shower/tub with a lot of cardboard boxes underneath. With this jank setup I managed to get a fine mist of black paint on only some of the wall and tub surfaces. I live in a condo unit with no garage or workshop and thought this was a workable solution. I do NOT recommend trying to do this in your bathroom. After a few rounds of matte black spray paint (and a bit more sanding, and a bit more paint), I applied a few layers of clear coat. I wore an N95 mask during this whole process.
After sanding, spraying, and coating, I decided "good enough" as it is going to be covered with a wrap anyway. I did not want to apply the wrap to just a sanded surface as I do not know how well it would have stayed on. Applying the wrap ended up being easier than I expected. I even managed to apply it around the sides, so just the back remains black. While the sides did not end up being perfect if you look up close, from a distance it looks great. Next, I went on to install all the electronics, which involved screwing in bits and some simple soldering.
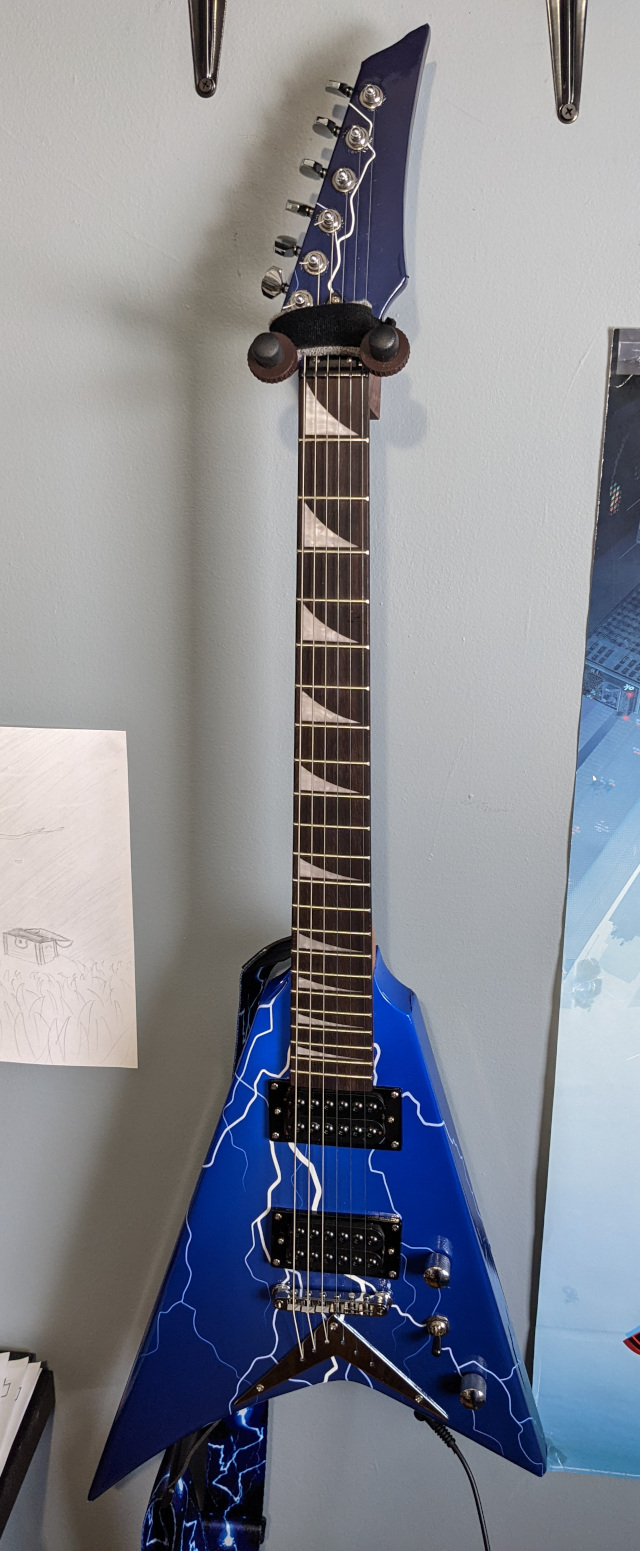
Here is the finished guitar hanging on my sons wall. As you can see, my son wanted a lightning pattern wrap and I was lucky to find a matching guitar strap on Amazon. I did not use the tuners or pickups that came with the kit, but rather got locking tuners and Seymour Duncan Invader knock-off pickups, also from Amazon.
Overall, the guitar plays and sounds decent for what it is. The tune-o-matic bridge did not let me put the strings as low to the fretboard as I prefer, so the action feels a bit high to me. Attempting to adjust string height via the truss rod results in too much fret buzz. Anyway, my son got a custom flying-v that cost only about a half to a third of what buying a similarly spec'd pre-built branded guitar would be.
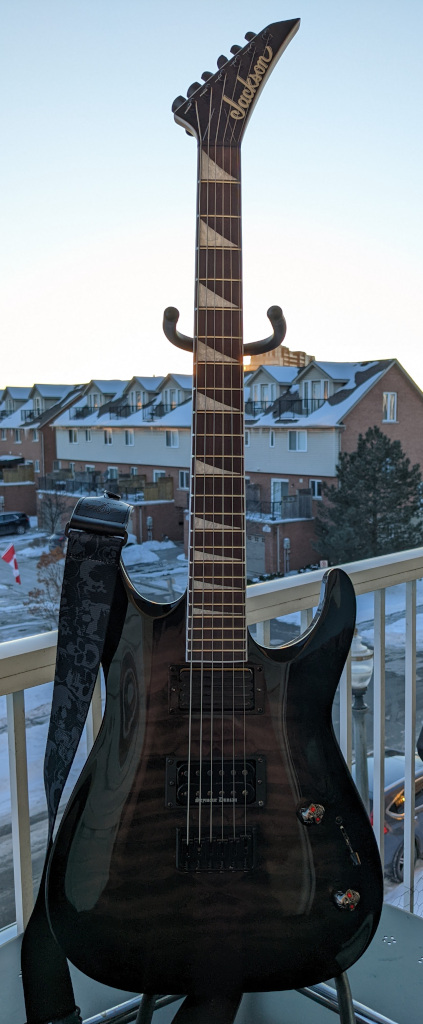
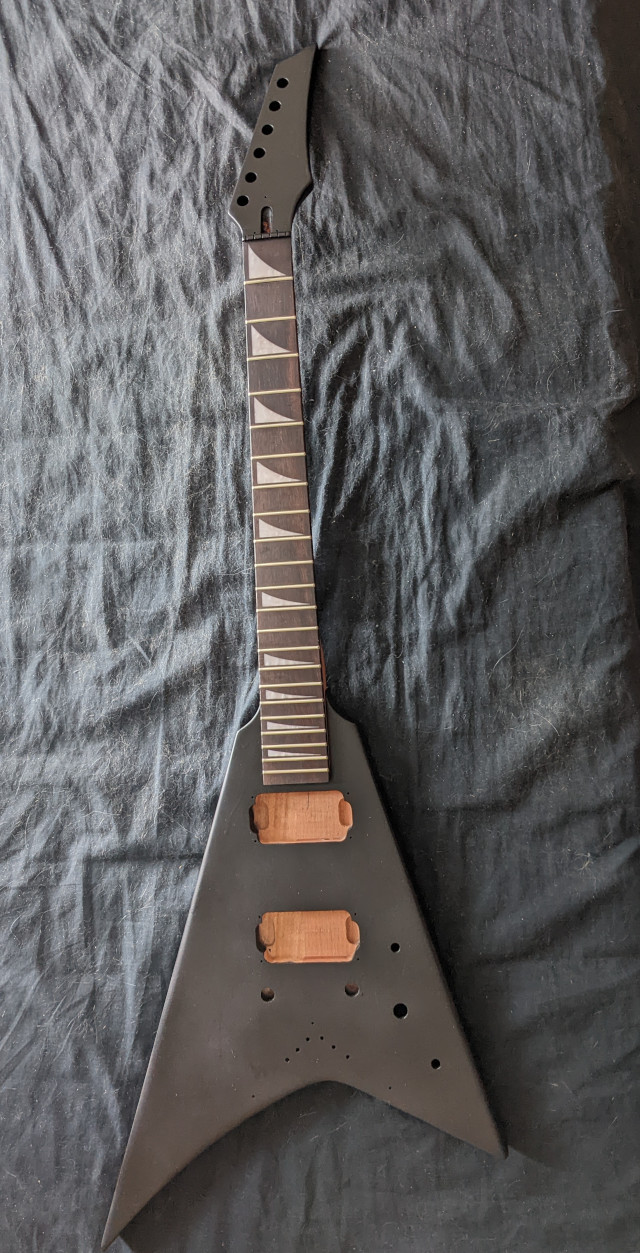
Unrelated to this guitar build, I decided to include a picture of my own electric guitar. As this is only a fun hobby for me, I have never wanted to spend too much money on my guitar related things. This is the cheapest heavymetal-looking Jackson I could find without a tremolo system (I do not want the hassle) but with a quad rail neck humbucker and Seymour Duncan Black Winter bridge humbucker pickup. I use a Positive Grid Spark smart amp that lets me avoid having to buy any additional pedals while still having all the effects I could possibly want.
This blog entry is just to show that you can always find ways to thoroughly enjoy a normally very expensive hobby on a budget.
I looked at a number of custom guitar kit options but decided to go with a nearby company because if there were any major issues it would be easier to ship back. Everything ended up looking fine with no issues that I could see. All you need to make a working electric guitar was included in the kit. I have an electric guitar myself that I've changed the tuners and pickups on, and I have always assembled my own computers, so I figured this should not be too difficult. As you can see, my cat was very interested in being involved with the unboxing.
I sanded off the protective clear coat that the guitar comes with and taped up the cavities and bits that I did not want to get paint on. If I ever do this again, this is the step I will definitely spend more time on. Getting the cleanest and smoothest surface possible is important. I basically followed instructions I found on YouTube videos for what grit of sandpaper to use and what brands of spray paint (when doing this in on the cheap) to use.
I hung the guitar body up in my bathroom shower/tub with a lot of cardboard boxes underneath. With this jank setup I managed to get a fine mist of black paint on only some of the wall and tub surfaces. I live in a condo unit with no garage or workshop and thought this was a workable solution. I do NOT recommend trying to do this in your bathroom. After a few rounds of matte black spray paint (and a bit more sanding, and a bit more paint), I applied a few layers of clear coat. I wore an N95 mask during this whole process.
After sanding, spraying, and coating, I decided "good enough" as it is going to be covered with a wrap anyway. I did not want to apply the wrap to just a sanded surface as I do not know how well it would have stayed on. Applying the wrap ended up being easier than I expected. I even managed to apply it around the sides, so just the back remains black. While the sides did not end up being perfect if you look up close, from a distance it looks great. Next, I went on to install all the electronics, which involved screwing in bits and some simple soldering.
Here is the finished guitar hanging on my sons wall. As you can see, my son wanted a lightning pattern wrap and I was lucky to find a matching guitar strap on Amazon. I did not use the tuners or pickups that came with the kit, but rather got locking tuners and Seymour Duncan Invader knock-off pickups, also from Amazon.
Overall, the guitar plays and sounds decent for what it is. The tune-o-matic bridge did not let me put the strings as low to the fretboard as I prefer, so the action feels a bit high to me. Attempting to adjust string height via the truss rod results in too much fret buzz. Anyway, my son got a custom flying-v that cost only about a half to a third of what buying a similarly spec'd pre-built branded guitar would be.
Unrelated to this guitar build, I decided to include a picture of my own electric guitar. As this is only a fun hobby for me, I have never wanted to spend too much money on my guitar related things. This is the cheapest heavymetal-looking Jackson I could find without a tremolo system (I do not want the hassle) but with a quad rail neck humbucker and Seymour Duncan Black Winter bridge humbucker pickup. I use a Positive Grid Spark smart amp that lets me avoid having to buy any additional pedals while still having all the effects I could possibly want.
This blog entry is just to show that you can always find ways to thoroughly enjoy a normally very expensive hobby on a budget.